Let’s make an animated gif of a rotating protein from PDB. This animation shows a human HLA-TCR complex (6py2).
You’re looking at two human proteins:
- The HLA protein (pink and purple subunits) at the bottom.
- The TCR protein (orange and yellow subunits) on top.
If you look closely, you’ll see that the HLA is presenting a peptide (green string) to the TCR.
This peptide happens to be a fragment of the glutenin protein from wheat flour.
I am totally entranced by this mechanism, and I immediately fell in love with immunology when I started to understand what is going on here.
This presentation mechanism is the basis for our adaptive immunity that protects us from pathogens and cancers, but it can also make us susceptible to autoimmune diseases.
By the way, if you are a researcher interested in bioinformatics tools and databases for analyzing HLA and VDJ genes, check out awesome-vdj. You’ll probably find something you like.
Choose a protein to animate #
Go to https://www.rcsb.org/ and browse around for something that interests you.
For this tutorial, we’ll render the wasabi receptor.
Write a Python script that outputs a CXC script for UCSF Chimera #
UCSF Chimera is an absolutely amazing free program for visualizing and analyzing molecular structures.
If you want quick results, just click the Spin movie button, and you’re done. No need to write any scripts. You get an MP4 file, and then you can use the wonderful Permute app to quickly transform the MP4 into a GIF.

If you want more control, you’ll need to write some scripts with commands to get exactly the kind of output you want. There are a lot of Chimera commands, so you can do a lot of interesting things if you take some time to learn how to use them.
Here’s my Python script that controls Chimera the way I want:
#!/usr/bin/env python3
"""
make-cxc.py
"""

from math import ceil
import os

# Choose a PDB ID
# PDB_ID = '6PY2' # HLA/TCR complex
PDB_ID = '3J9P' # wasabi receptor

# Make an output folder in {HOME}/{PDB_ID}
home_dir = os.path.expanduser("~")
out_dir = os.path.join(home_dir, PDB_ID)
os.makedirs(out_dir, exist_ok=True)

# The first few lines of the CXC script
head = f"""
close
open {PDB_ID}
hide atoms
show cartoons
color bychain
lighting full
graphics silhouettes false
"""

# You will probably need to try different levels of zoom.
show_carbons = """
show /C atoms
style /C stick
zoom 2.3
"""
# If you want to render the peptide bound to the HLA,
# then uncomment this line:
# head = head + show_carbons

# How many degrees should we rotate per frame?
degrees = 1
n_frames = ceil(360 / degrees)

# You may want to try different sizes
width = 400
height = 400

# Save the lines of our script
lines = [head]
for i in range(1, n_frames + 1):
    out_file = f'{out_dir}/frame{i:03}.png'
    trans = 'transparentBackground true'
    if i < n_frames:
        turn = f'turn y 2 {degrees}; wait {degrees}'
    else:
        turn = ''
    # Save a 400x600 png file for each frame
    line = f'save "{out_file}" width {width} height {height} {trans}; {turn}'
    lines.append(line)

# Print out the script
print('\n'.join(lines))
Run the Python script #
python3 make-cxc.py > script.cxc
Now, script.cxc should have a bunch of commands ready for Chimera.
Run Chimera on the command line #
You can open the Chimera app and run the script from its own command prompt like this:
runscript /Users/ks38/script.cxc
Or, if you can figure out the path to Chimera on your command line, then you should be able to launch it like this:
/Applications/ChimeraX-1.6.1.app/Contents/MacOS/ChimeraX --script script.cxc
Make sure you check to see which version you have, because the path might be different on your machine.
The Chimera app will open up and run each command in the CXC file. This could take a few minutes, so be patient.
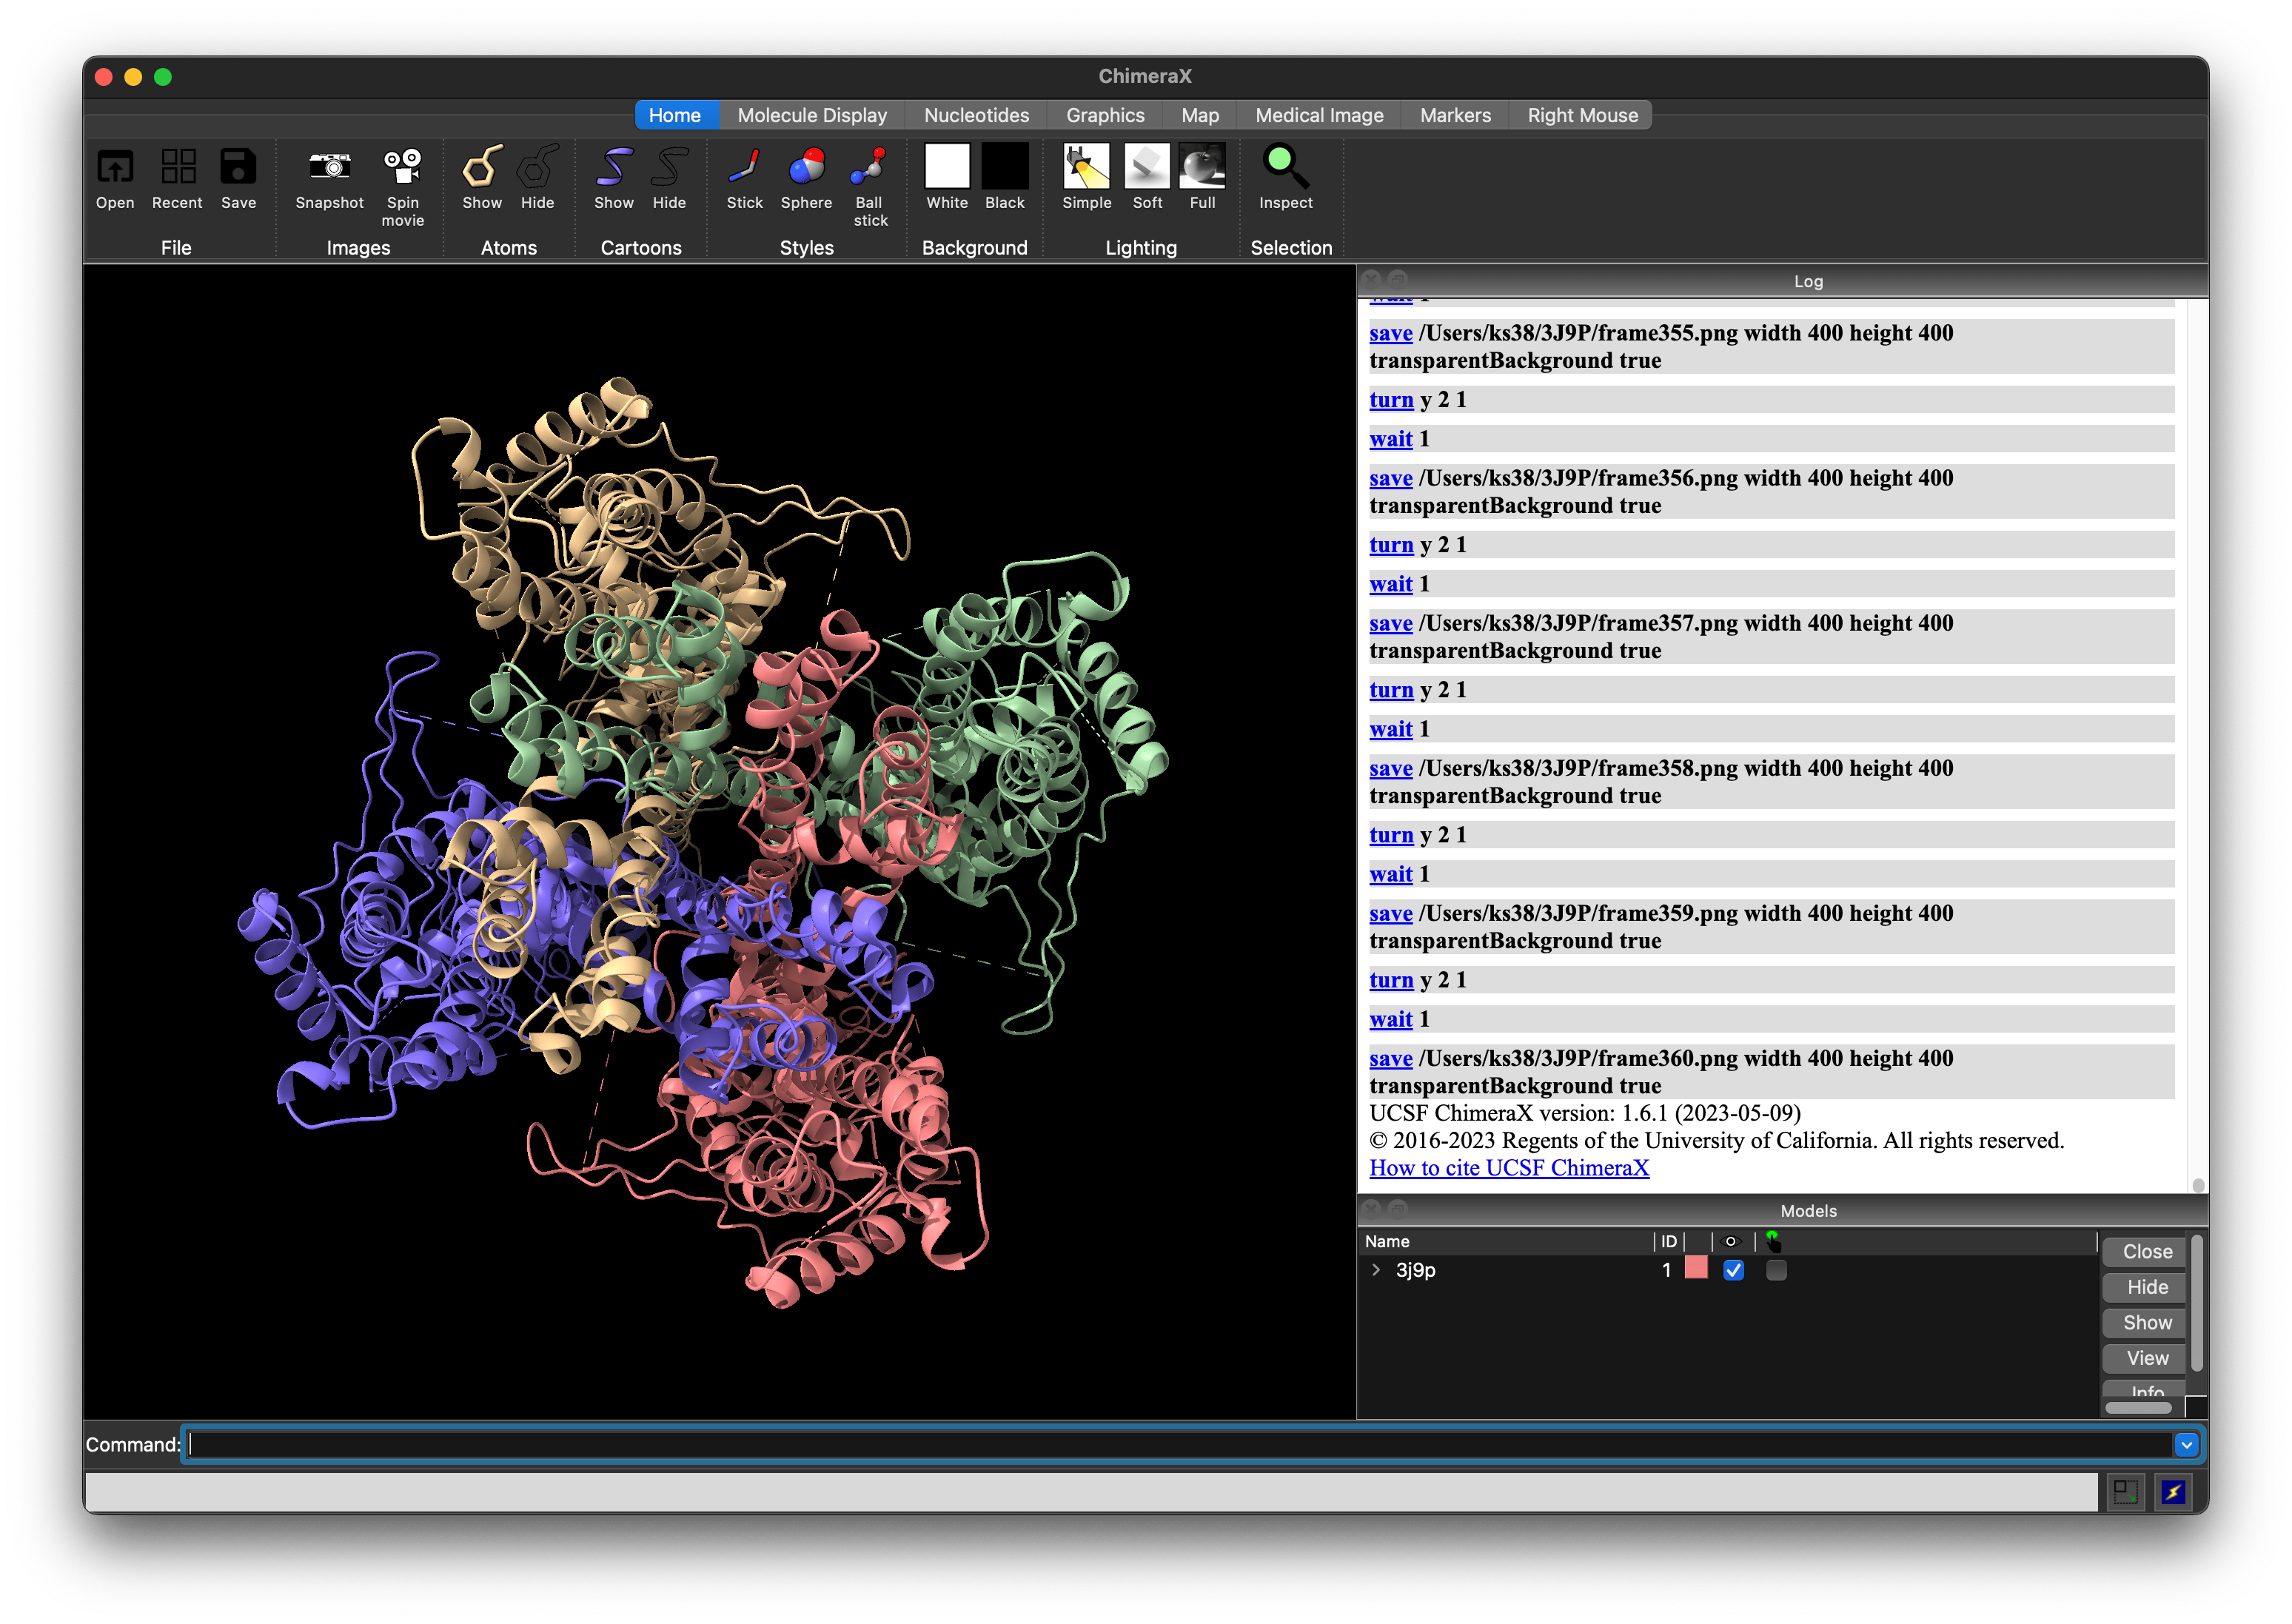
At the end of the script, this is what mine looked like:
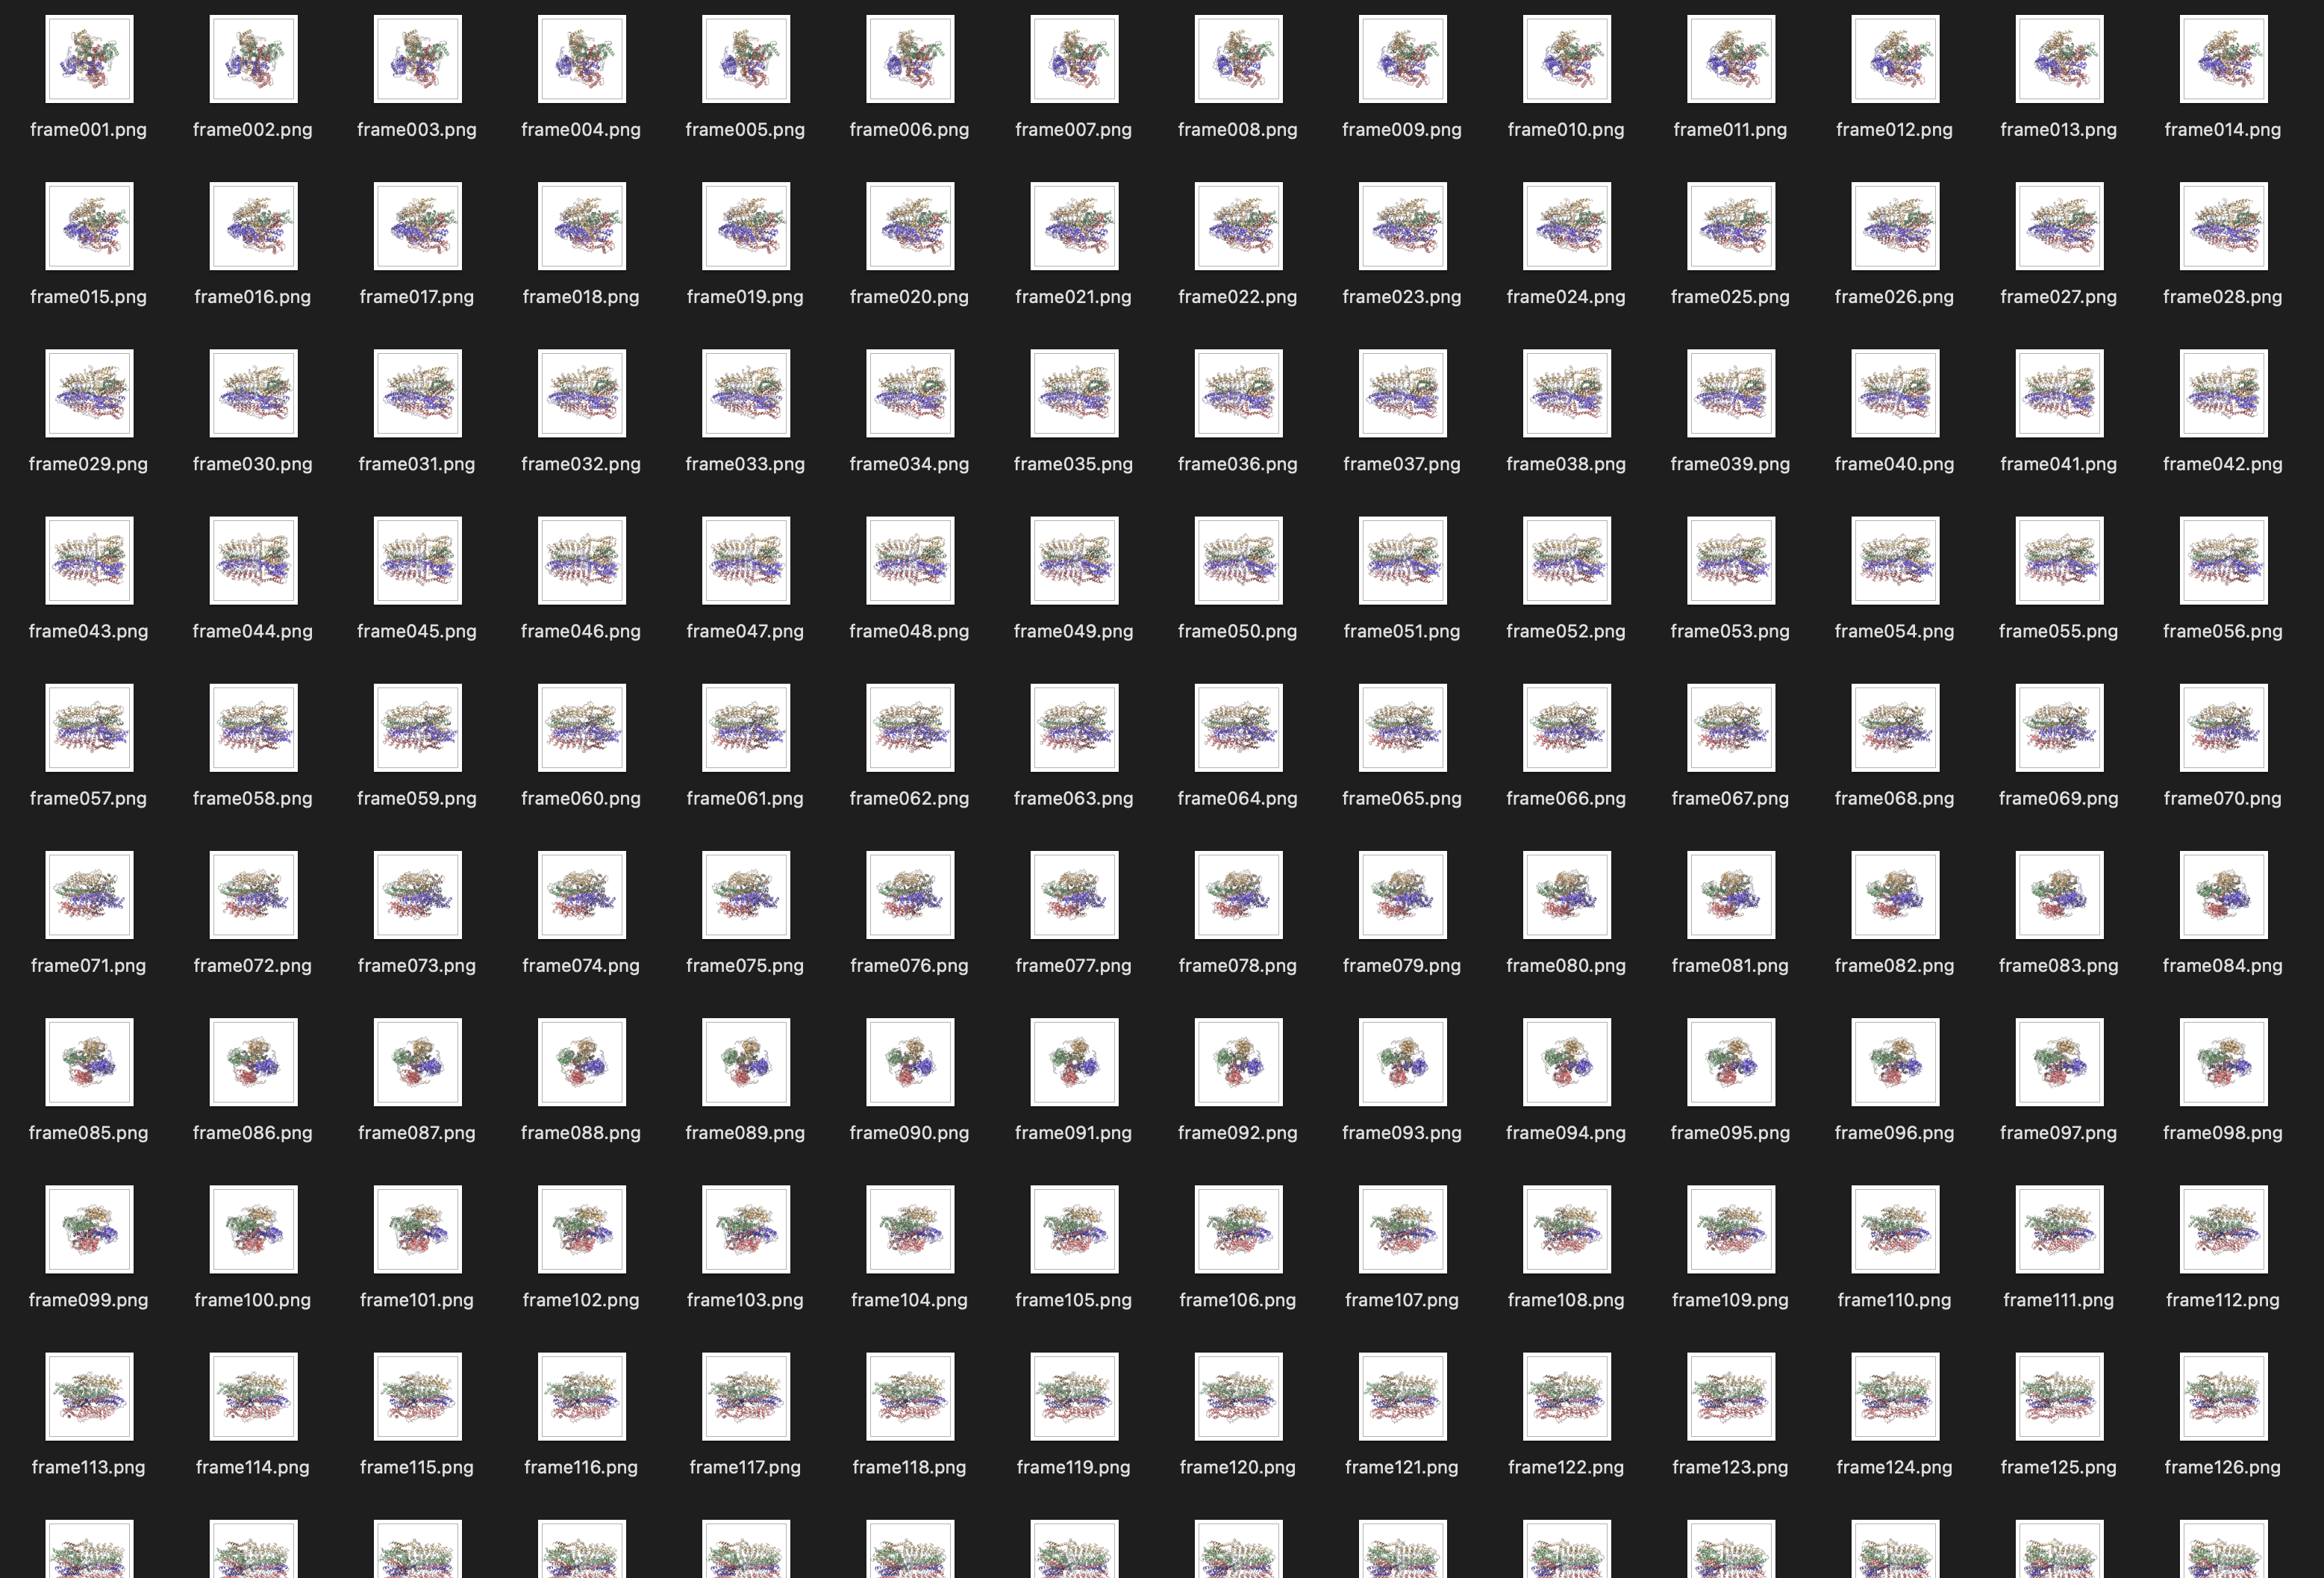
And now I have a folder full of PNG frames:
Concatenate the output PNG files into an animated GIF #
The easiest way to do this is with gifski.
Install it with Homebrew:
brew install gifski
For me, brew was not working well. So, I compiled gifski from source with this command (you’ll need to install Rust to get the cargo command):
cargo install gifski
Use gifski to concatenate the PNG files into a GIF:
gifski --extra -r 10 --quality 100 -o 3J9P.gif ~/3J9P/frame*.png
And here’s what I got:

At this point, you might be satisfied. Or, you might want a smoother animation with a smaller file size.
In that case, let’s try making an MP4 file instead of a GIF.
Concatenate the output PNG files into an MP4 movie #
Install the venerable ffmpeg program:
brew install ffmpeg
And run this command:
ffmpeg -framerate 30 -i ~/3J9P/frame%03d.png \
  -c:v libx264 -pix_fmt yuv420p \
  3J9P.mp4
To get a white background instead of a black one, I had to convert the PNG files with Imagemagick first, and then run the same ffmpeg command again.
Install imagemagick:
brew install imagemagick
Convert transparent background to white background:
magick mogrify -background white -alpha remove \
  -alpha off ~/3J9P/*.png
And then run the same ffmpeg command again to get this:
Enjoy! 🥳
Reply by Email